
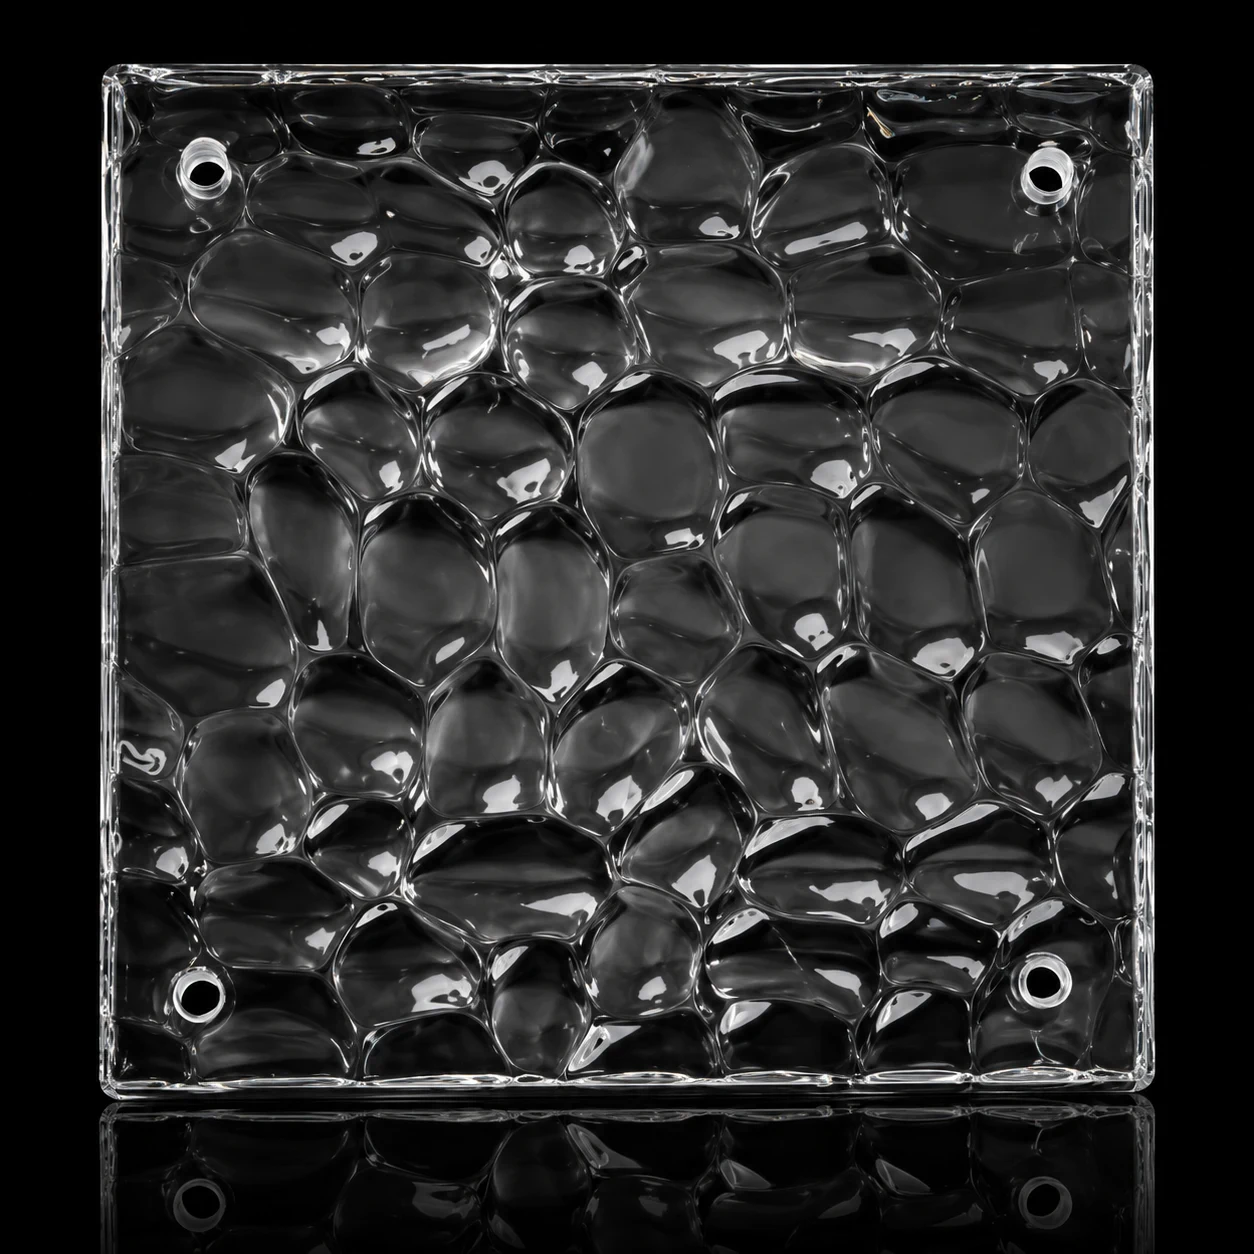
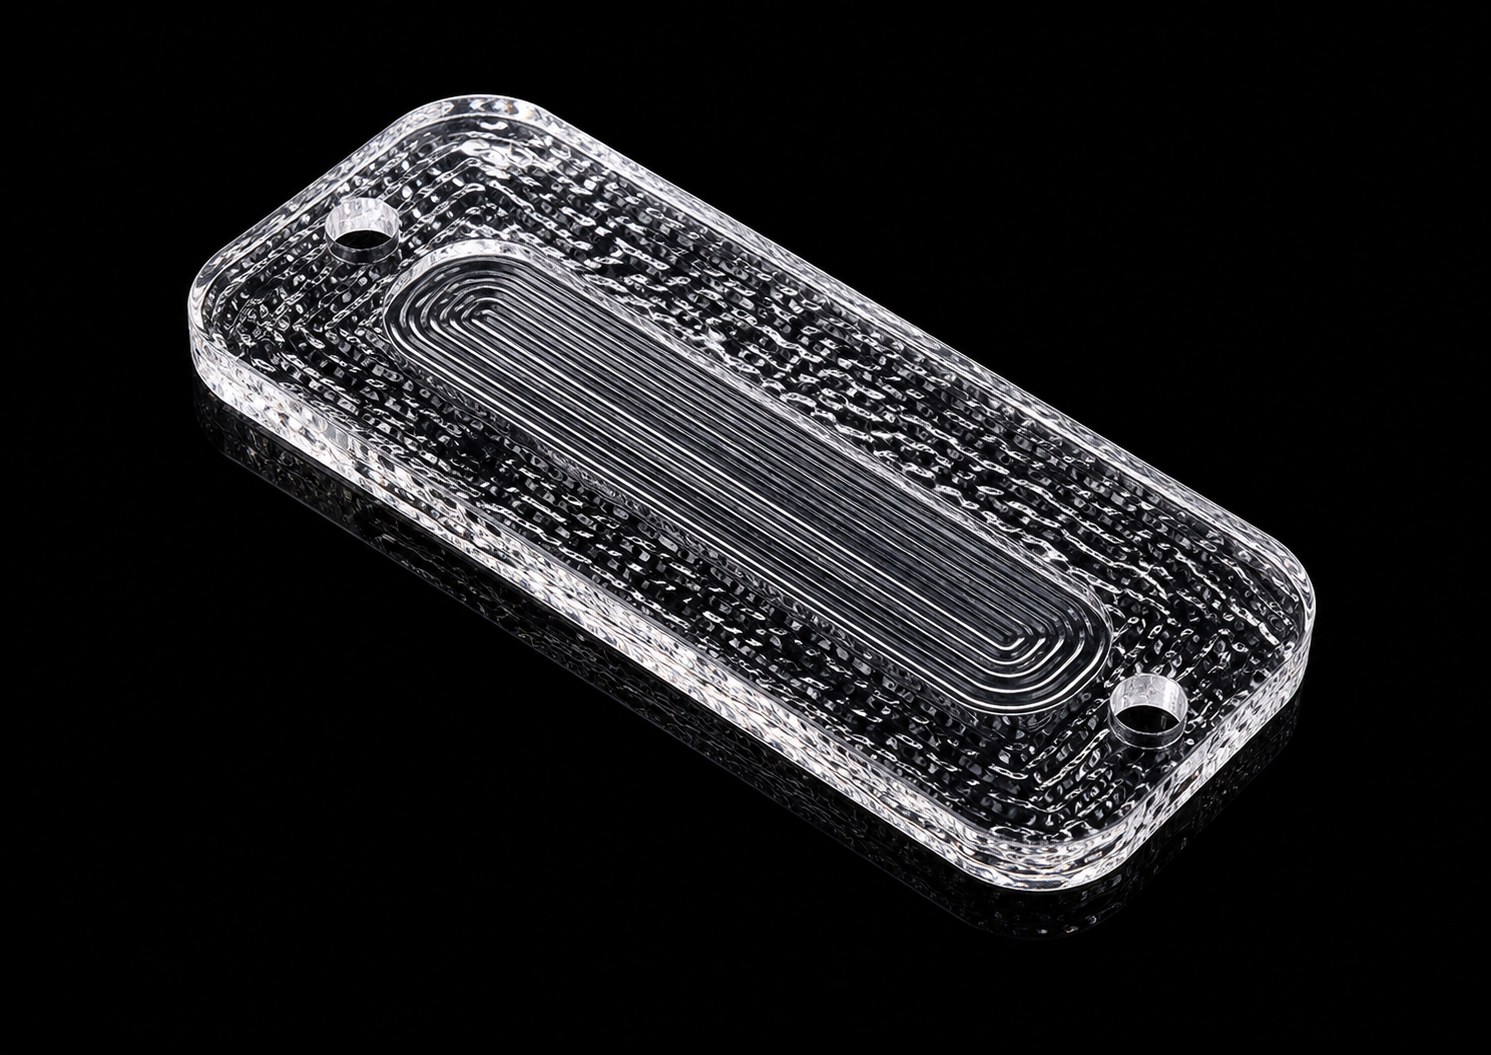
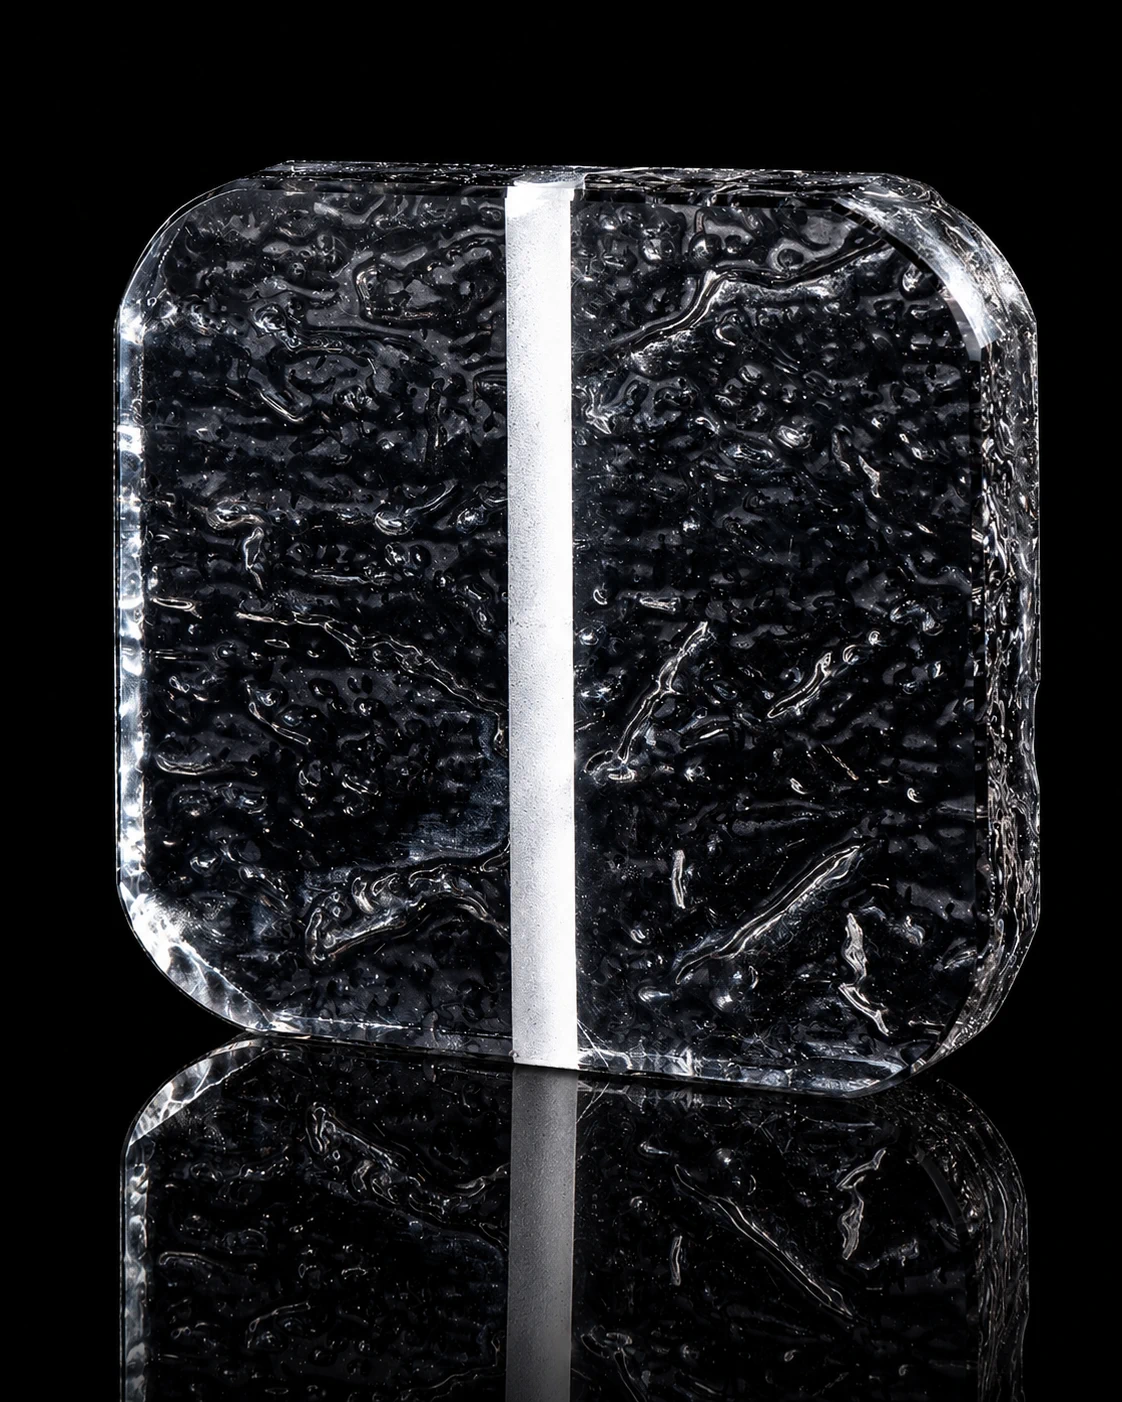
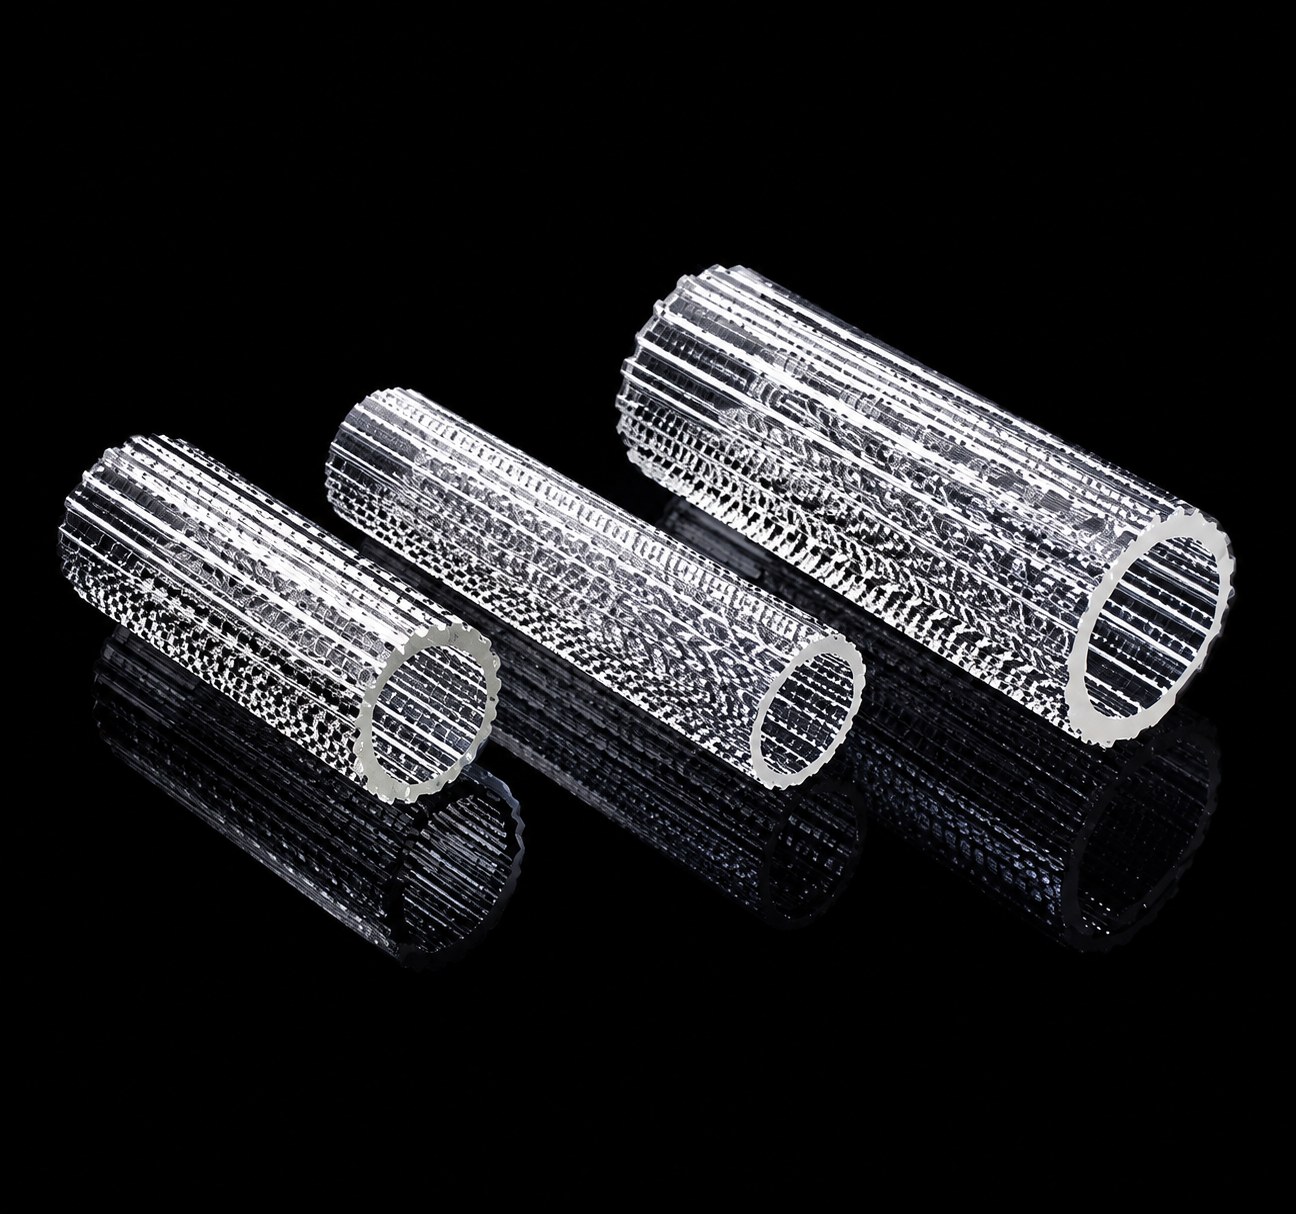
A hotel lobby feature wall is not simply a decorated surface. It is usually one of the first focal points a guest sees, and it has to work from several distances: at the entrance, across the lobby, at the reception desk and in photographs. When crystal is used, the result also changes with daylight, artificial light, reflection and movement.
For this reason, LMC Crystal reviews a lobby wall as a complete visual and technical system. The crystal material, backing, lighting, metal structure, fixing method, wall condition and surrounding circulation should be considered together.
1. Start With The Wall Scale And The Main Viewing Distance
A crystal sample can look impressive at close range but feel too small once it is installed on a tall lobby wall. Begin with the overall wall width and height, ceiling height, reception-desk position and the main route guests use through the space.
The composition does not always need to fill the full wall. It does need a deliberate relationship to the architecture. A narrow vertical feature can emphasize height, while a wider composition can anchor a reception zone. The module size and pattern density should remain legible from the primary viewing distance.
2. Use Reflective Backing To Add Depth Carefully
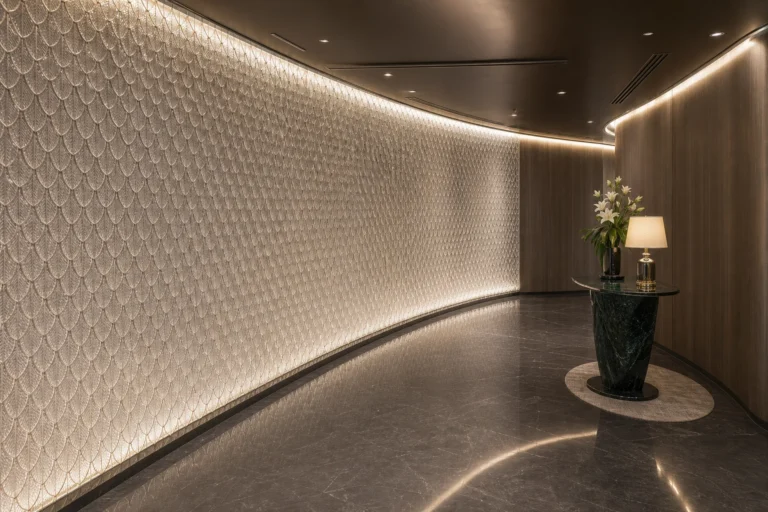
A mirror, polished metal panel or another reflective surface behind the crystal can visually multiply the modules. This often makes the feature feel deeper and brighter without simply adding more crystal pieces.
The backing also reflects the room. Designers should check whether it will capture guests, doors, signs, service areas or strong light sources from awkward angles. The backing joint layout and the space needed for the crystal and metal system must be coordinated before the wall finish is completed.
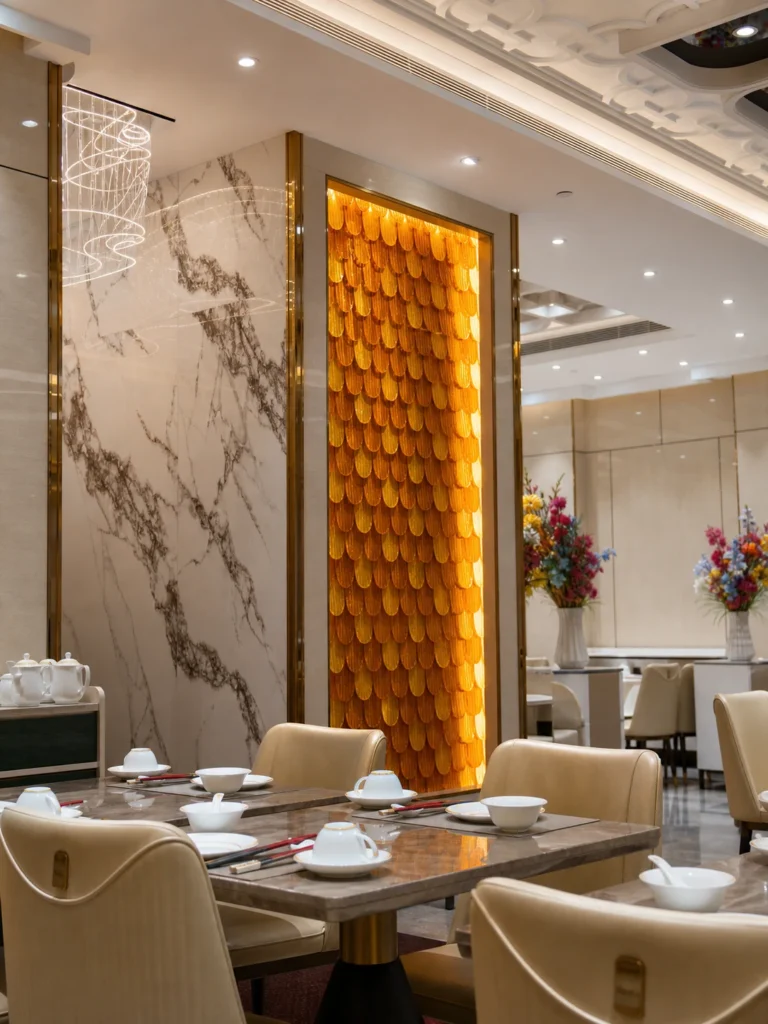
3. Plan Lighting As Part Of The Wall, Not As A Final Addition
Crystal depends on light to reveal its edges, layers and color. Wall washing can create a broad glow. Directional spotlights can make selected areas sparkle. Backlighting can work with translucent blocks, but it also exposes shadows, joints and uneven spacing.
More brightness is not automatically better. In a hotel lobby, uncontrolled glare can be uncomfortable at the reception desk or create poor photographs. Review the light direction, color temperature, dimming, maintenance access and the locations of drivers or cables while the wall build-up is still being designed.
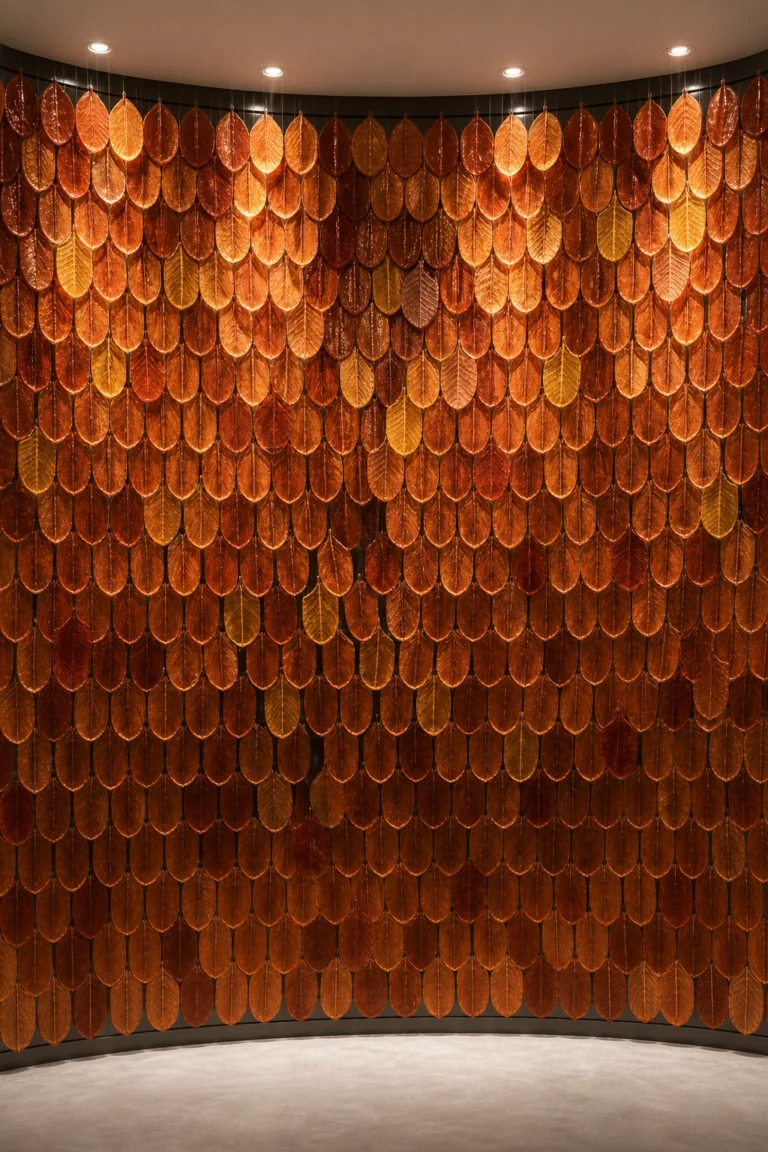
4. Choose A Material Route That Matches The Design Intent
Feather And Leaf Modules For Layered Movement
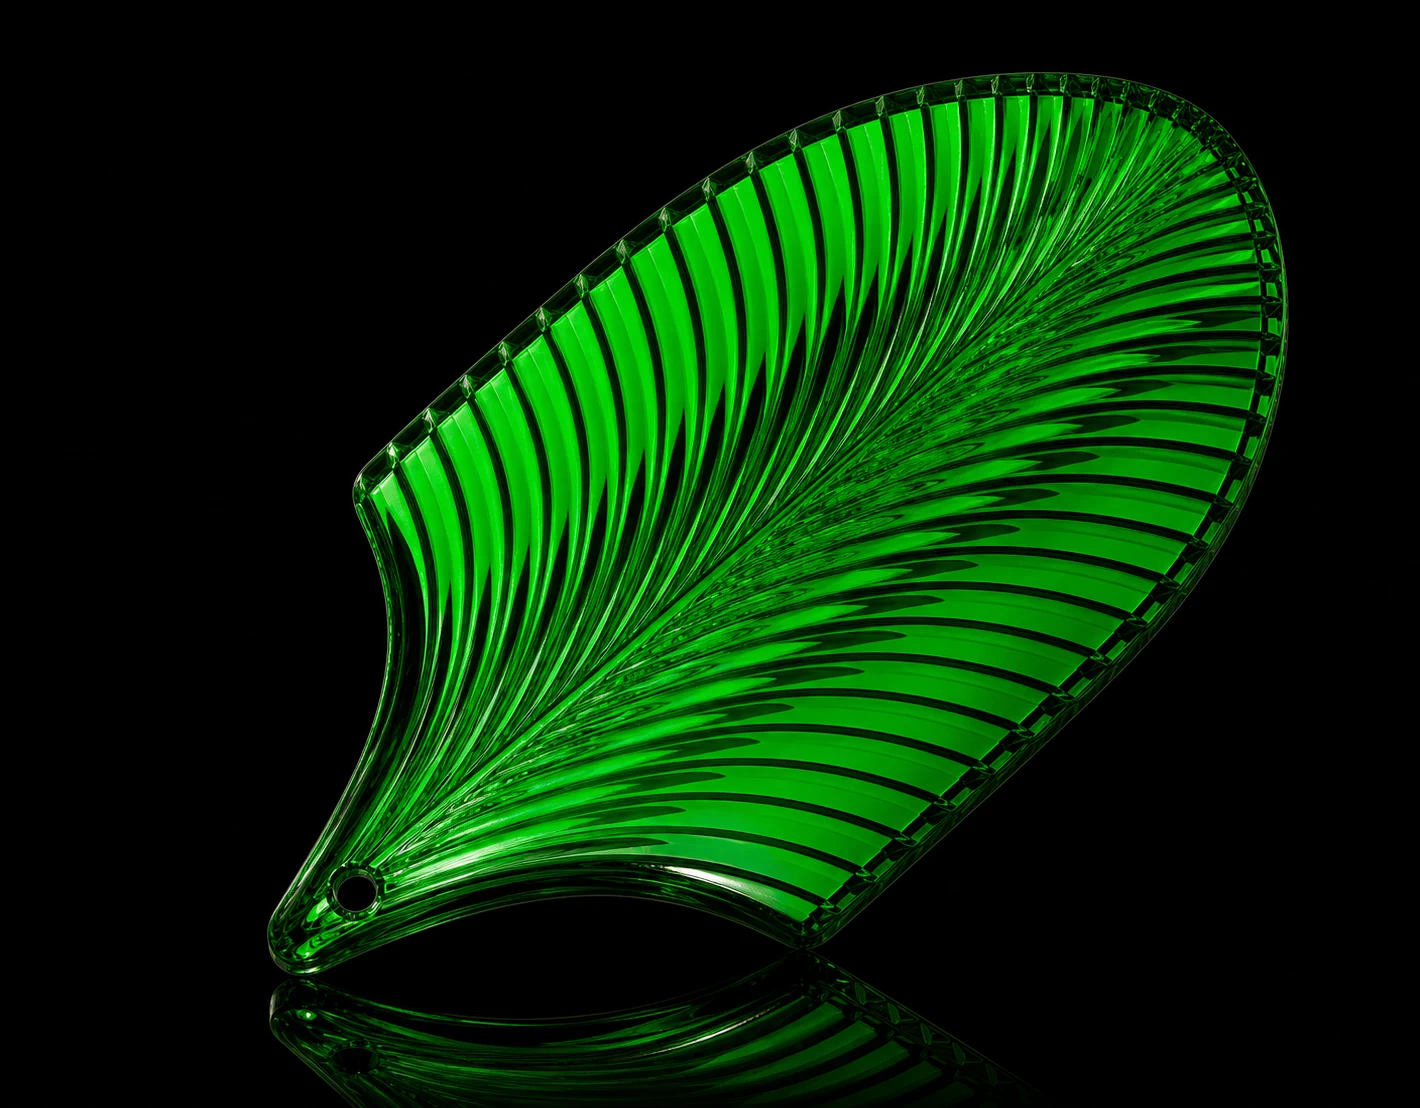
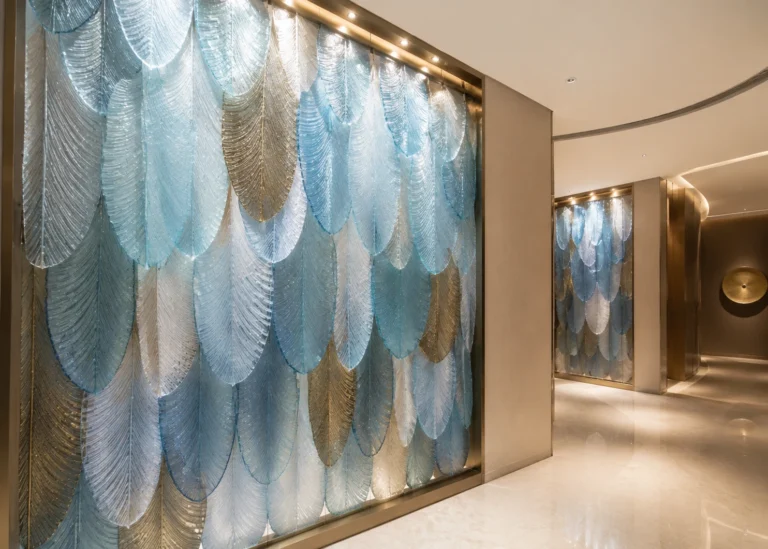
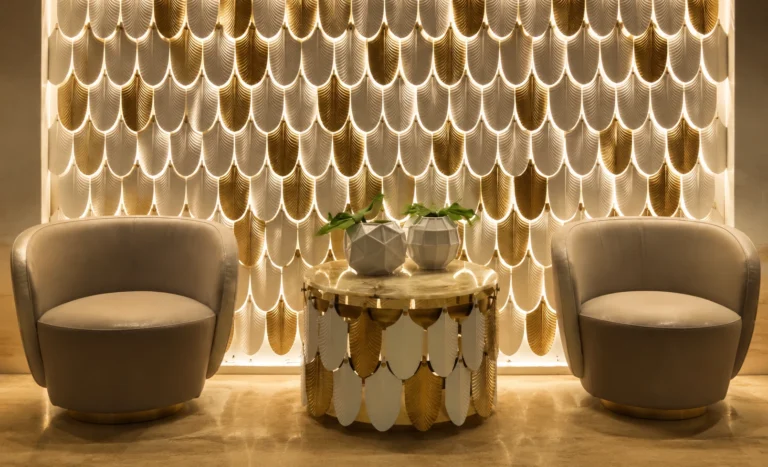
Feather and leaf crystal modules create a softer, layered rhythm. They suit walls where the designer wants movement and changing reflections rather than a strict grid. Orientation and spacing need control so the pattern reads intentionally across a large surface.
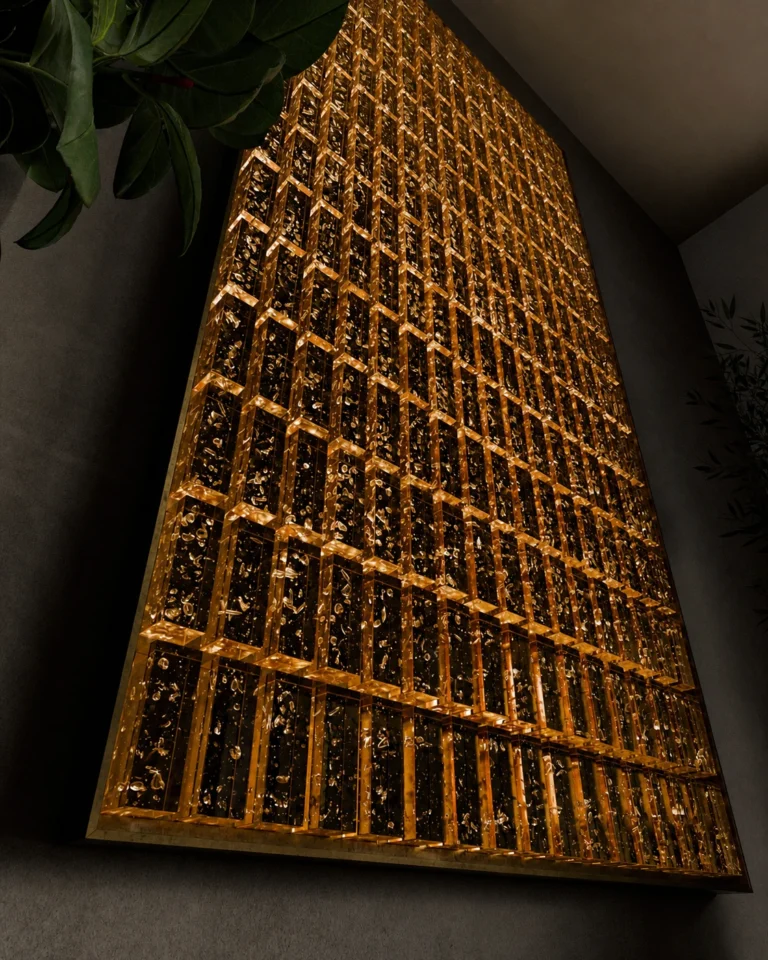
Crystal Bricks For A More Architectural Surface
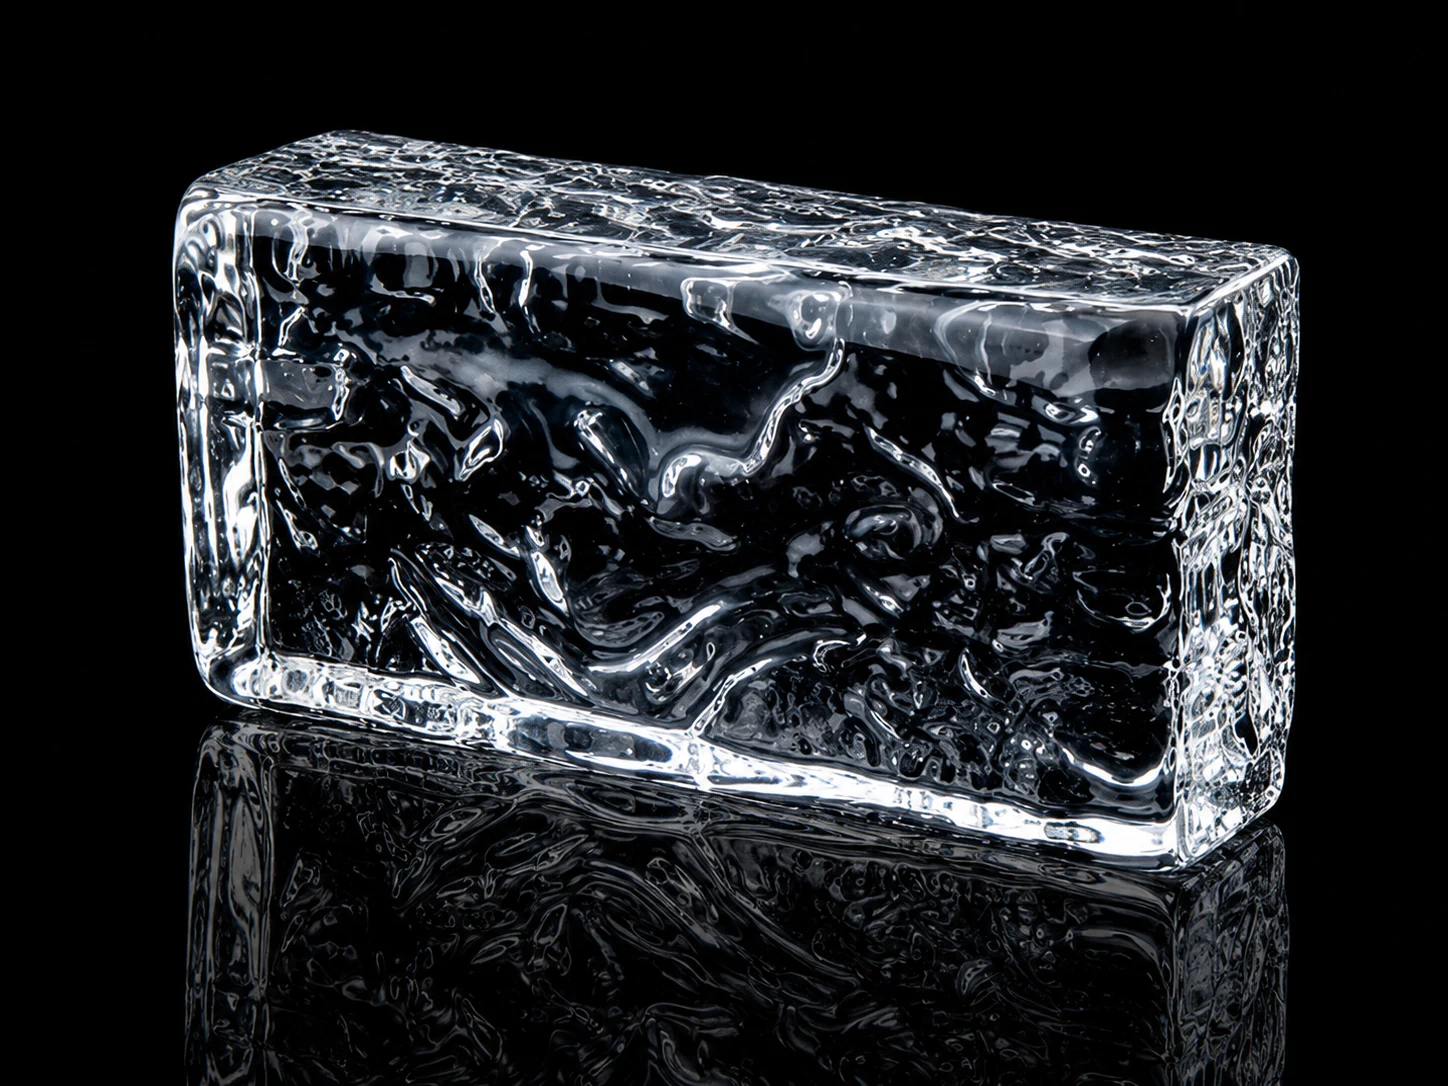
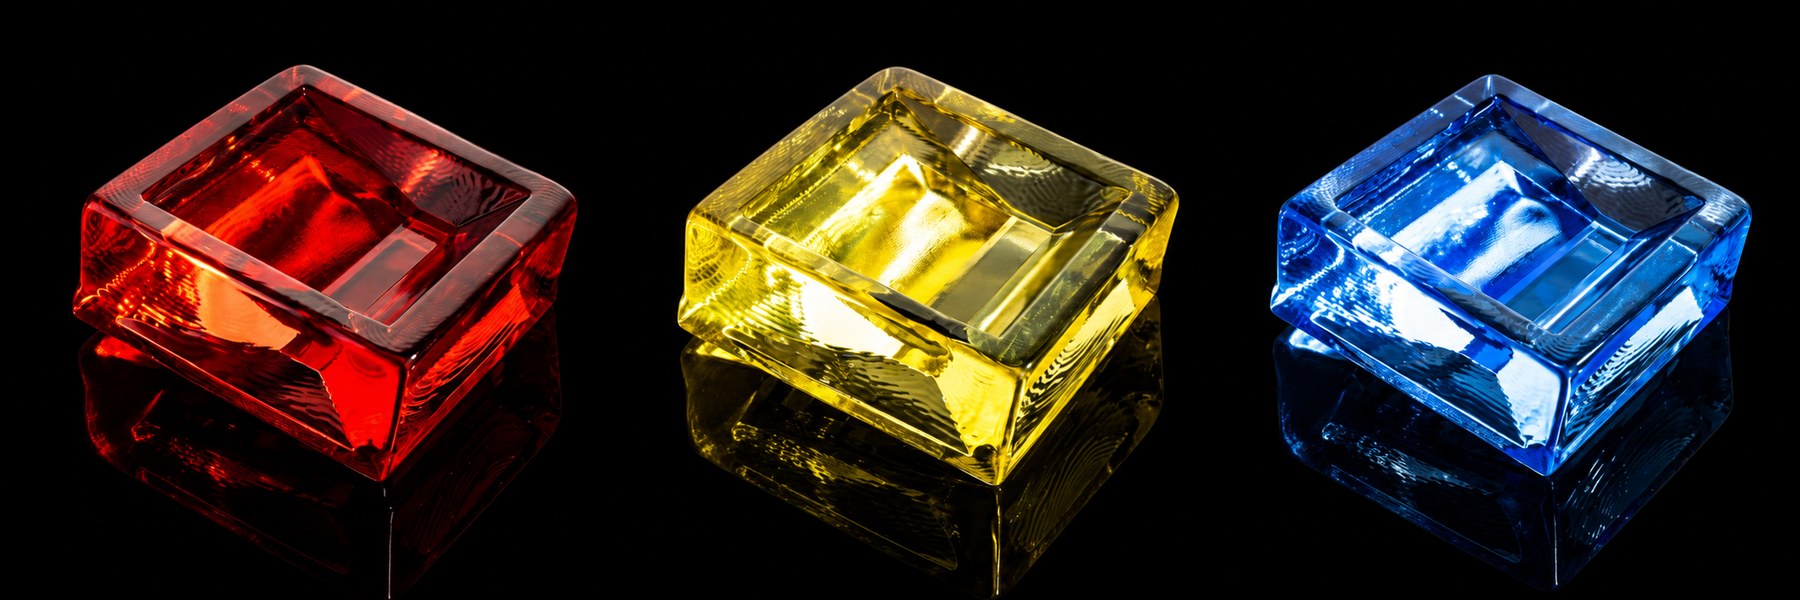
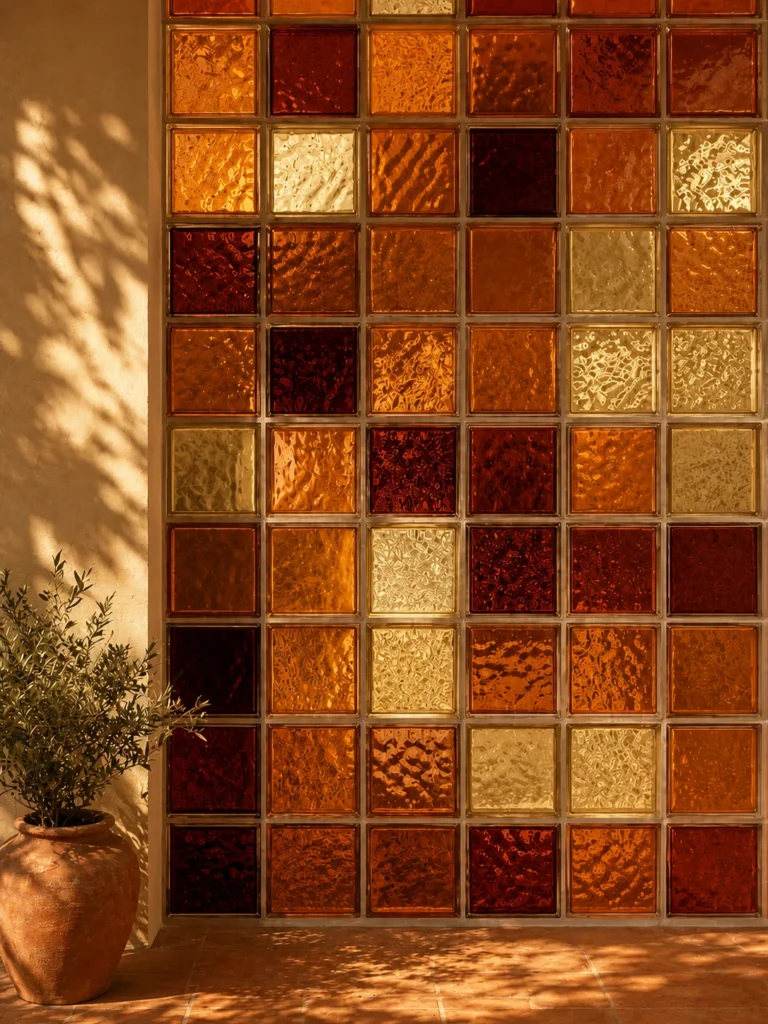
Crystal bricks and blocks create a more solid modular wall. They can transmit or reflect light while giving the feature a clear architectural grid. Module dimensions, joints, backing, edge treatment and the supporting wall system should be reviewed together.
Shaped Modules For A Pictorial Composition
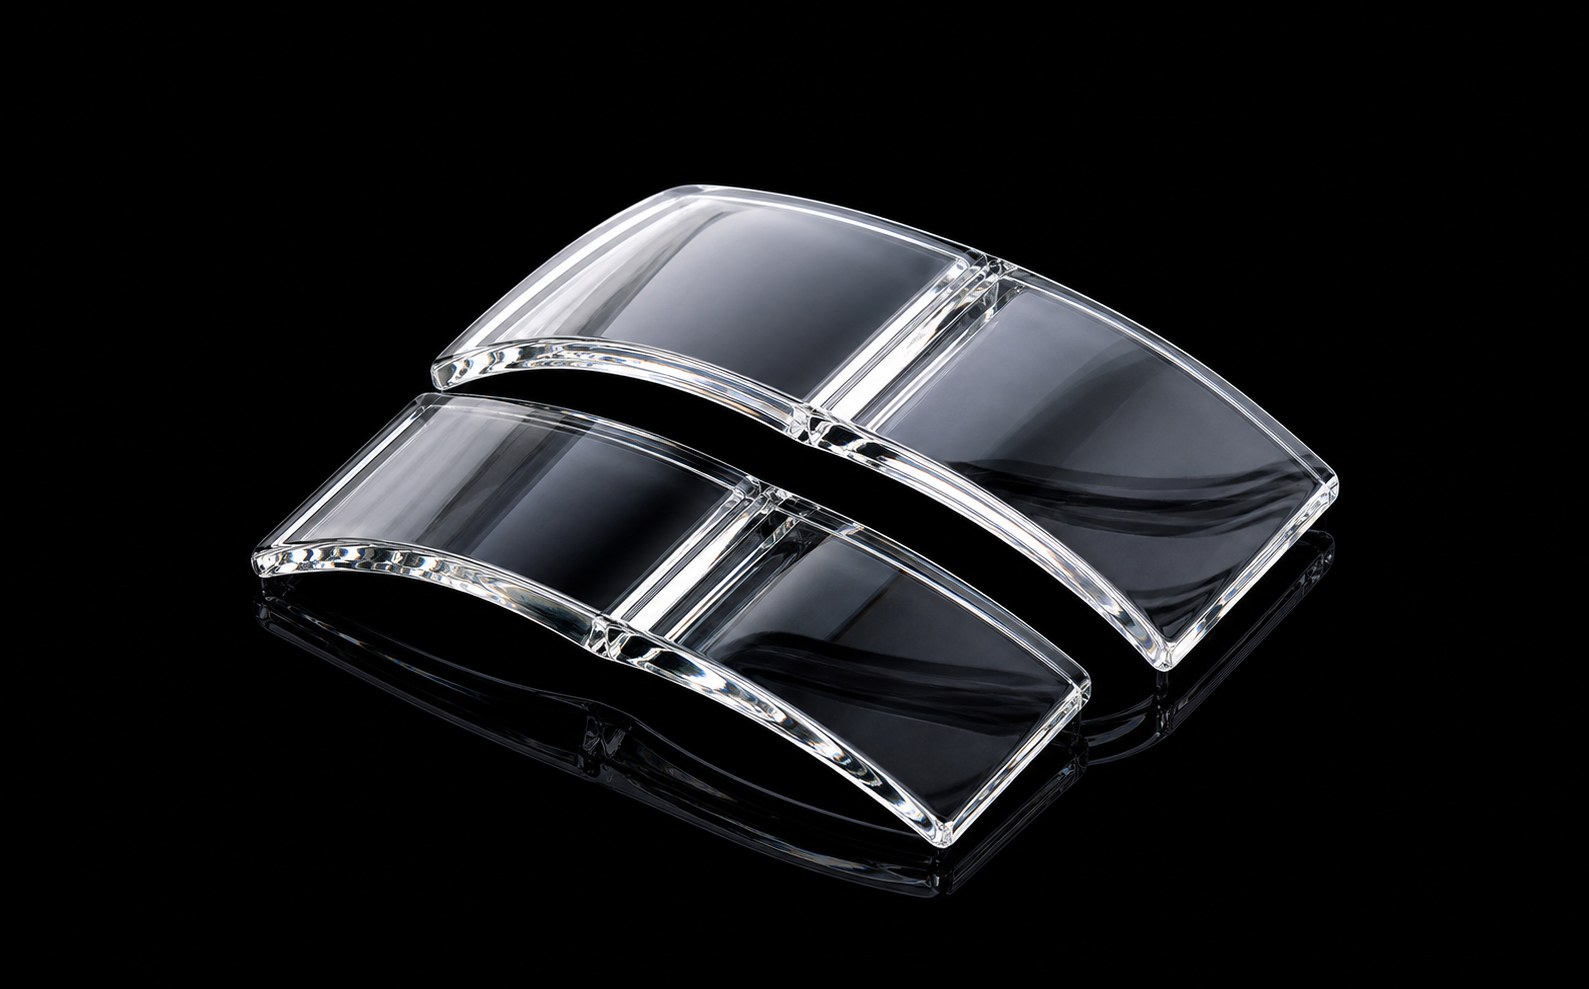
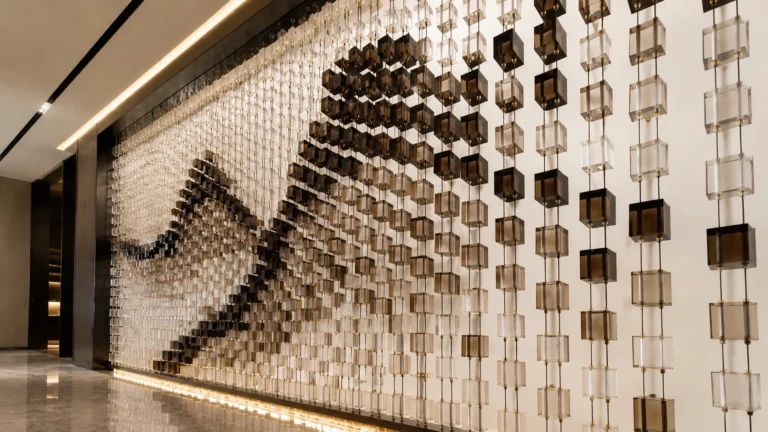
Shaped modules can be arranged into a landscape, abstract motif or another project-specific image. This direction requires a controlled layout, numbering and installation map. The intended image should be checked both close up and from the distance where guests will first see it.
5. Coordinate A Reception Backdrop With Signage And Daily Use
A feature wall behind the front desk has to support the reception function. It should frame the hotel name or logo, remain clear behind staff and avoid creating confusing reflections around screens, lighting or signage.
Confirm the desk height, logo position, camera viewpoints, service doors and maintenance routes before finalizing the composition. A strong color or dense crystal pattern can work well, but it should not compete with the information guests need to read.
6. Treat The Metal Structure And Fixing Method As One System
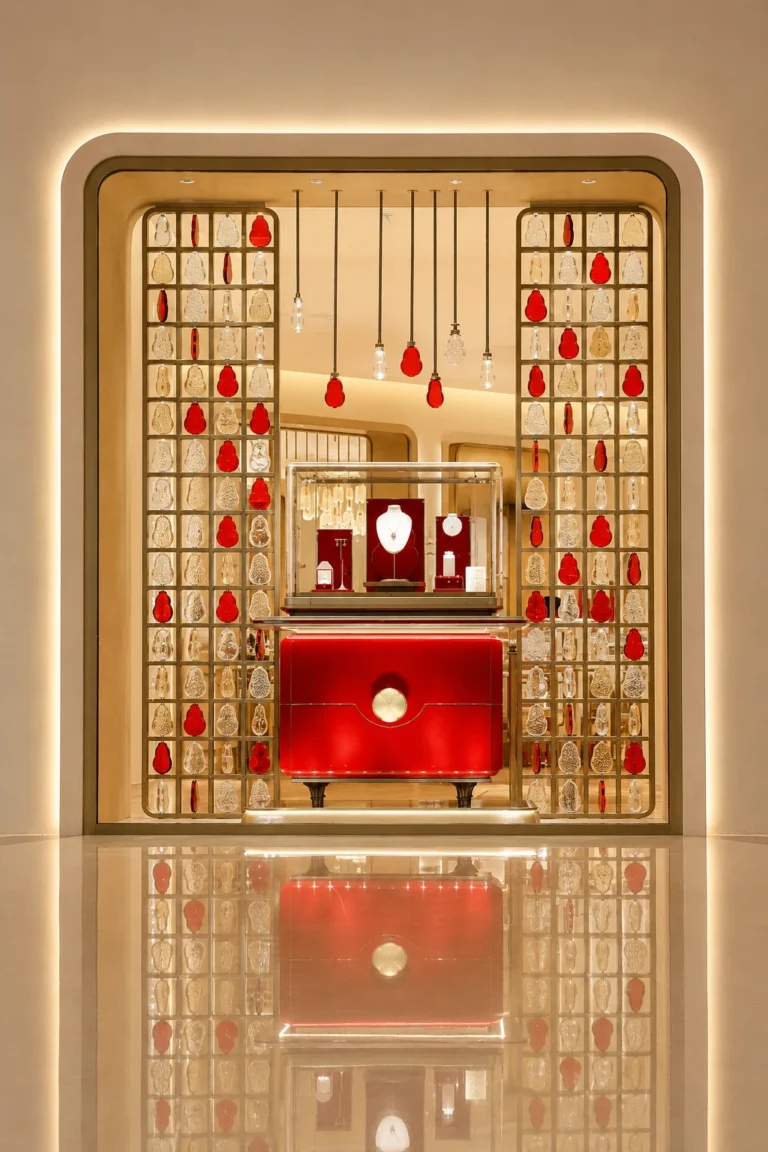
Crystal modules need a supporting route. Depending on the design, that may include a perimeter frame, secondary steelwork, panels, rods, cables, brackets or prepared fixing points. The visible metal finish can be discreet or become part of the composition.
LMC can review the product-side metal logic and suggest how modules may be connected, preassembled, numbered and packed. Final loads, substrate capacity, wall build-up, electrical coordination, local code and installation responsibility must be confirmed by the appropriate architect, structural engineer and contractor for the actual site.
For more detail, review Metal Frames & Fixing Systems and Metal Frames And Fixing Details For Custom Crystal Screens.
7. Avoid The Most Common Design Mistake
The most common mistake is choosing a beautiful crystal image first and postponing the wall, lighting and fixing questions. This can lead to a composition that is out of scale, a backing that cannot carry the system, lighting that creates glare or a finished wall that has no practical access for installation.
A better sequence is to confirm the design intent, wall dimensions, viewing distance, material route, backing, lighting zone and structural responsibility before the final module layout is approved.
8. What To Send For An Initial Project Review
- A lobby rendering, moodboard or reference image showing the intended visual direction.
- The overall wall width and height, plus the ceiling height if relevant.
- An elevation, section or site photo showing the wall build-up and nearby doors, desks or signage.
- The preferred crystal direction: hanging modules, crystal bricks, shaped modules or an open recommendation.
- Available information about backing, lighting, fixing position and project location.
- The project stage and target schedule for sample review, production and delivery.
If some information is not ready, start with the rendering and approximate dimensions. The custom crystal system specification guide explains how the inquiry can be developed step by step.
9. How LMC Can Support The Next Step
- Identify the closest crystal product family from a rendering or reference image.
- Compare feather and leaf modules, crystal bricks and shaped-module routes.
- Review layout density, metal connections, preassembly and numbering logic.
- Prepare samples or product references once the direction is narrowed.
- Plan protective packing and export delivery around the selected system.
Explore the Products and Gallery, request the relevant Catalog, or send the project rendering and dimensions through Contact for a focused review.
FAQ
What is the best crystal material for a hotel lobby feature wall?
There is no single best material. Feather and leaf modules create layered movement, crystal bricks form a more architectural surface, and shaped modules can create a custom pictorial composition. The choice should follow the wall scale, lighting, viewing distance and design intent.
Should a crystal feature wall use a mirror backing?
A mirror or reflective backing can add depth and multiply the visual effect, but it also reflects people, doors, signs and light sources. Review the sightlines and wall build-up before confirming it.
How should a crystal lobby wall be illuminated?
Wall washing, directional lighting and backlighting can all work in different situations. The design should control glare, color temperature, shadows, dimming and maintenance access instead of adding lighting after the wall is finished.
What dimensions are needed for an initial recommendation?
Start with the approximate wall width and height, a rendering or reference image and the main viewing direction. A site photo, elevation, section, backing information and lighting plan can be added when available.
Who confirms the final structure and fixing for the wall?
LMC can provide product-side and metal-system suggestions. Final loads, substrate capacity, wall build-up, electricity, local code and site installation responsibility must be confirmed by the appropriate local professionals.